
How to create pixel art and animation in Pixsama.
This guide walks through the Android app from creating a canvas to exporting finished artwork. It covers drawing tools, layers, palettes, sprite animation with tags and linked cels, selections, gestures, saving and recovery.
Create a project
From the gallery, choose + New. Name the project, set its width and height, then pick a transparent or solid background and an RGBA or indexed colour workflow. The preview beside the size fields shows the exact canvas you are about to create.
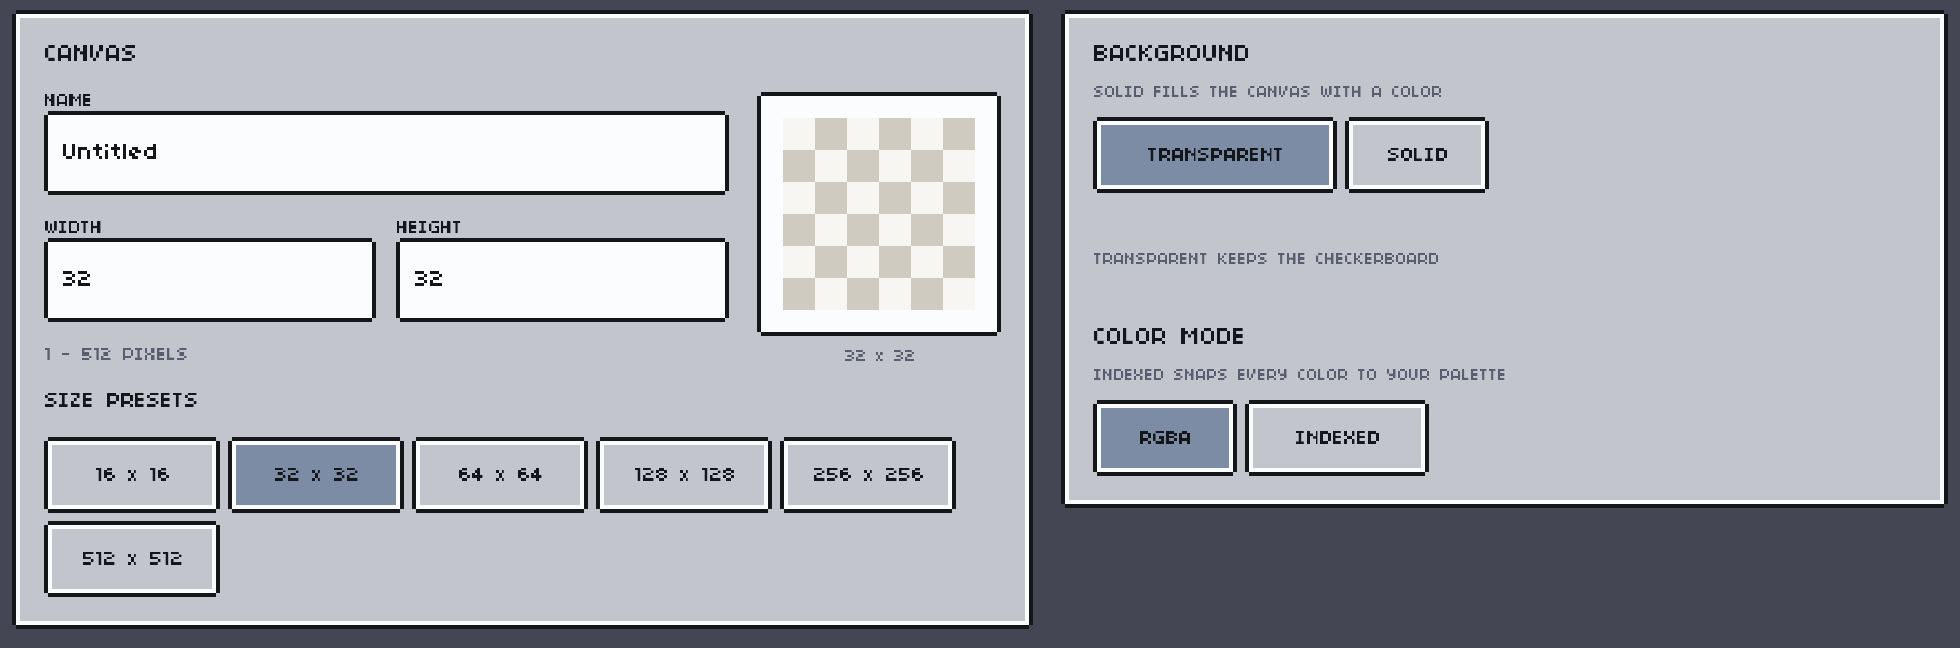
Animation is not a decision you make here. Any project becomes animated the moment you add a second frame, so start with a single canvas and grow into a timeline if the artwork calls for one.
The gallery
Every project on the device appears in the gallery with a live thumbnail over the transparency checker, plus its size, layer count and frame count.
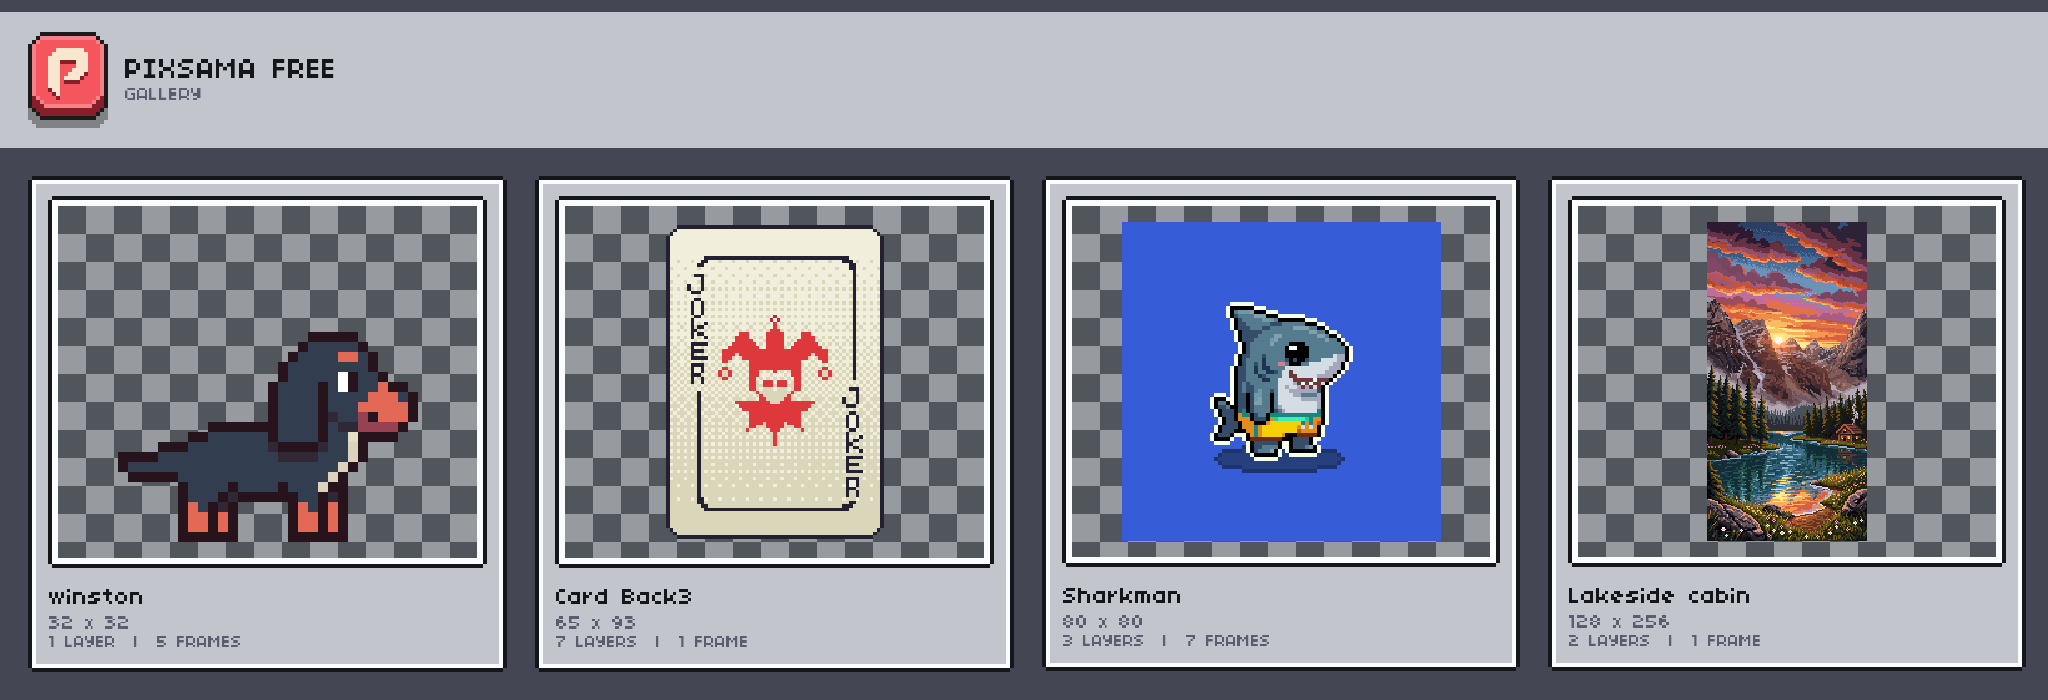
Long-press a card to select it and reveal the file actions. Selecting more than one project applies an action to all of them at once.

The workspace
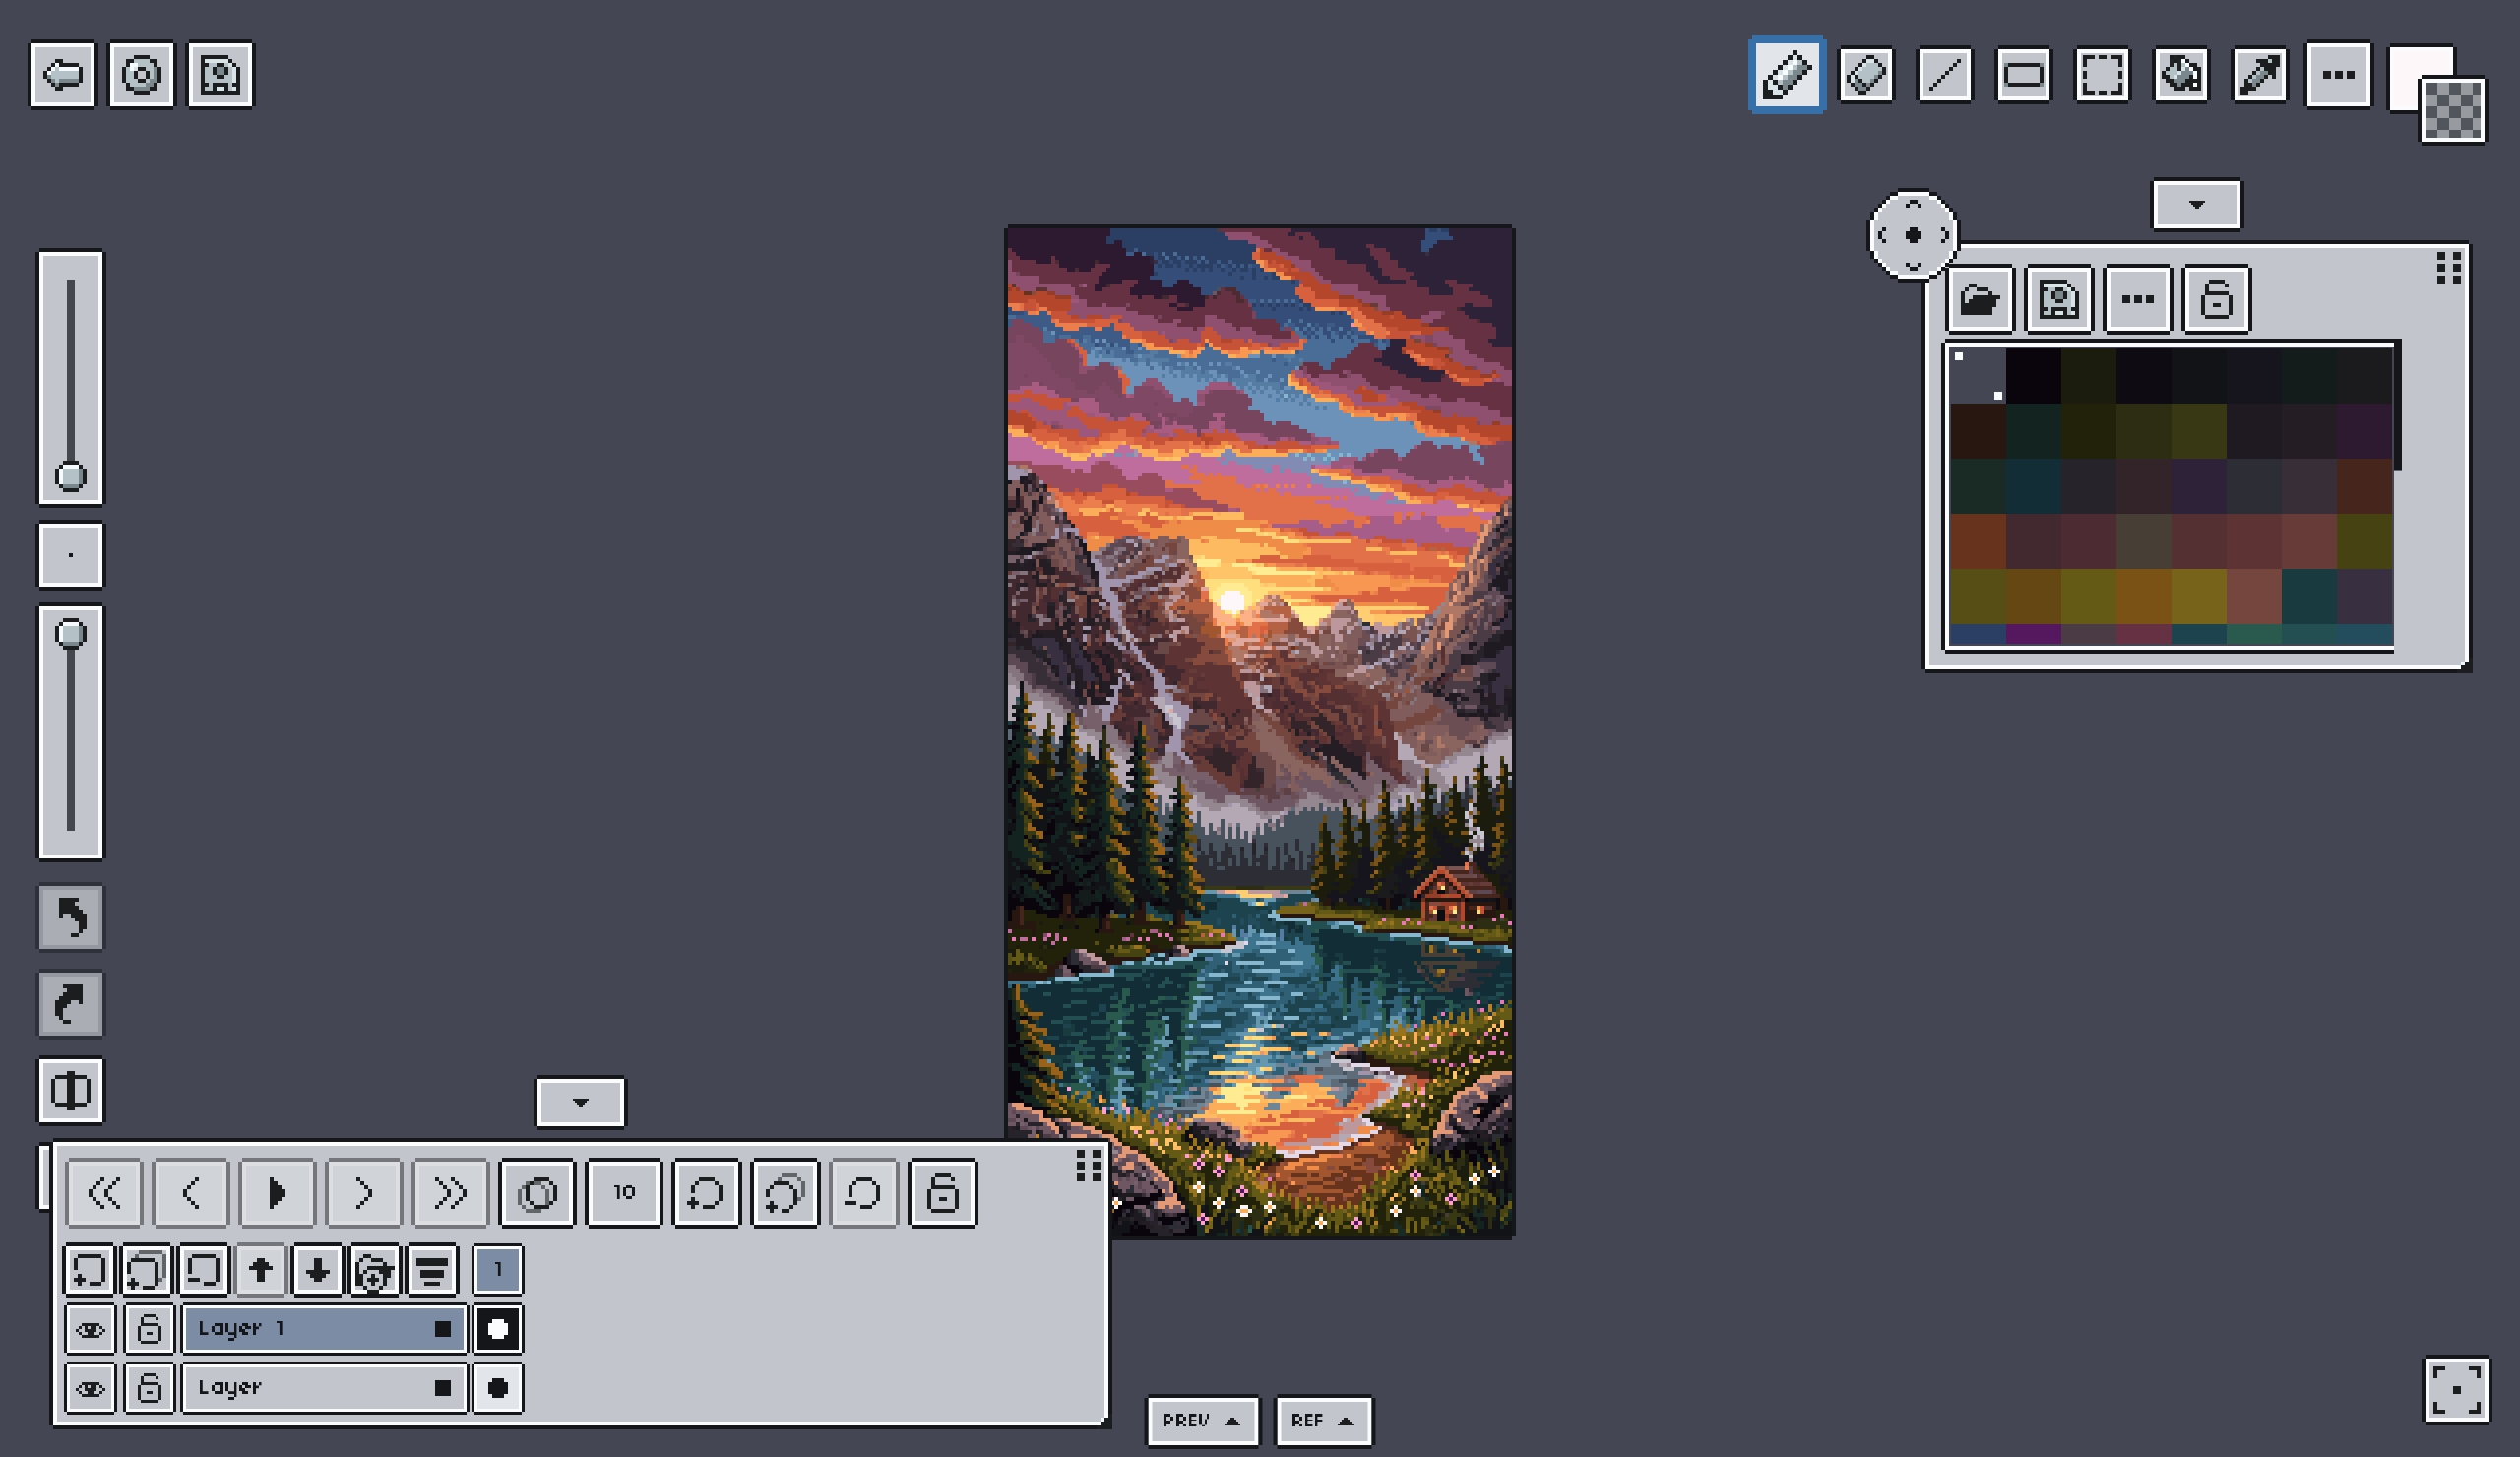
The canvas stays central. Tools sit along the top, brush controls and history run down the left edge, and the palette, timeline, preview and reference windows float as panels you can move, resize, dock or minimise.
Left rail
The vertical sliders set brush size and opacity, with the current brush previewed between them. Undo and redo sit below, followed by the symmetry and grid toggles.

Panels
Every floating window works the same way. Drag the grip to move it, drag a corner to resize, use the arrow tab to collapse it to a dock label, and use the padlock to pin it so it cannot be moved by accident.
Preview
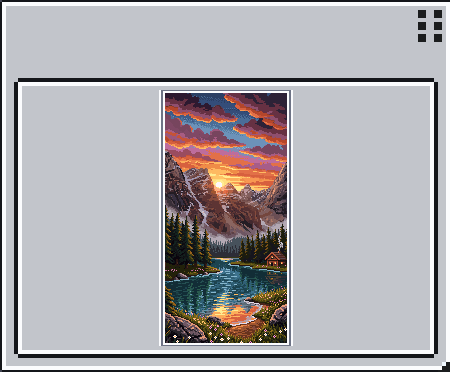
The preview shows the whole sprite at a readable size while you work zoomed in. It pans and zooms independently of the canvas, and the rectangle inside it marks the part of the artwork you are currently viewing.
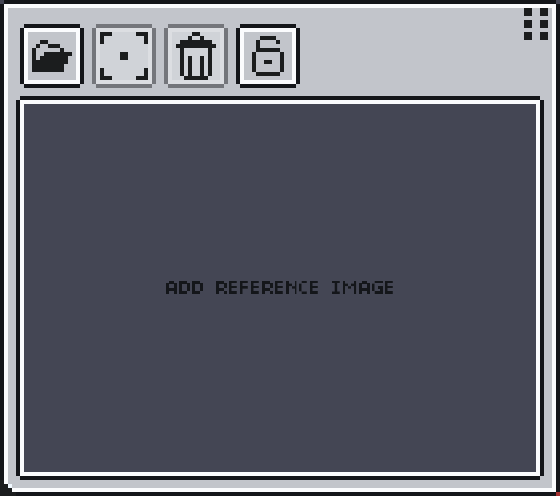
Reference image
Load a photo or another sprite to work from. The reference window zooms and pans on its own, can display smooth or pixel-sharp, and you can tap it to pick a colour straight out of the reference into your active swatch.
Tools
Every main tool is one tap away in the top strip. The two overlapping squares on the right are the foreground and background colours. Tap either one to make it active.

Tool settings
Holding a tool opens its settings directly under the button, so you can change how it behaves without leaving the canvas. The shape tool switches between rectangle and ellipse, locks to a perfect ratio, fills the shape, and draws from either the corner or the centre.
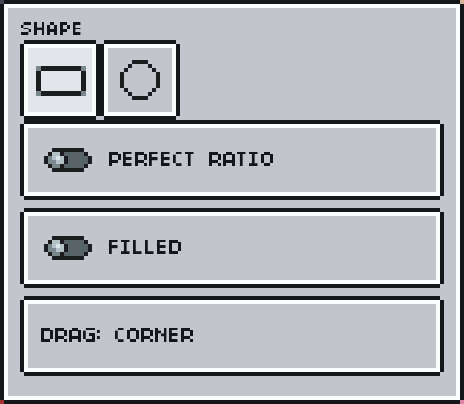
The other tools follow the same pattern: the line tool offers straight or curved, the fill tool offers bucket, linear gradient and radial gradient with a dithering choice, and the selection tool offers its five selection shapes. Pencil settings contain Pixel Perfect, pressure-sensitive size, contour fill, Quick Shape, smoothing and the square or circular brush choice.
Brush & canvas
Brush size and opacity apply to the pencil, eraser, line and shape tools. Pixel-perfect mode removes the doubled corner pixels that freehand strokes normally leave, which keeps outlines clean at small sizes. It can also be combined with contour mode.
- Square and circular brush shapes.
- Optional stylus pressure control over brush size.
- Off, Low, Medium and High smoothing; High gives the pen a strong trailing response for deliberate curves.
- Quick Shape turns a rough held stroke into a clean line, circle, ellipse, rectangle or square, then lets you resize it before release.
- Contour mode closes and fills an outline drawn in a single stroke.
Symmetry & grid
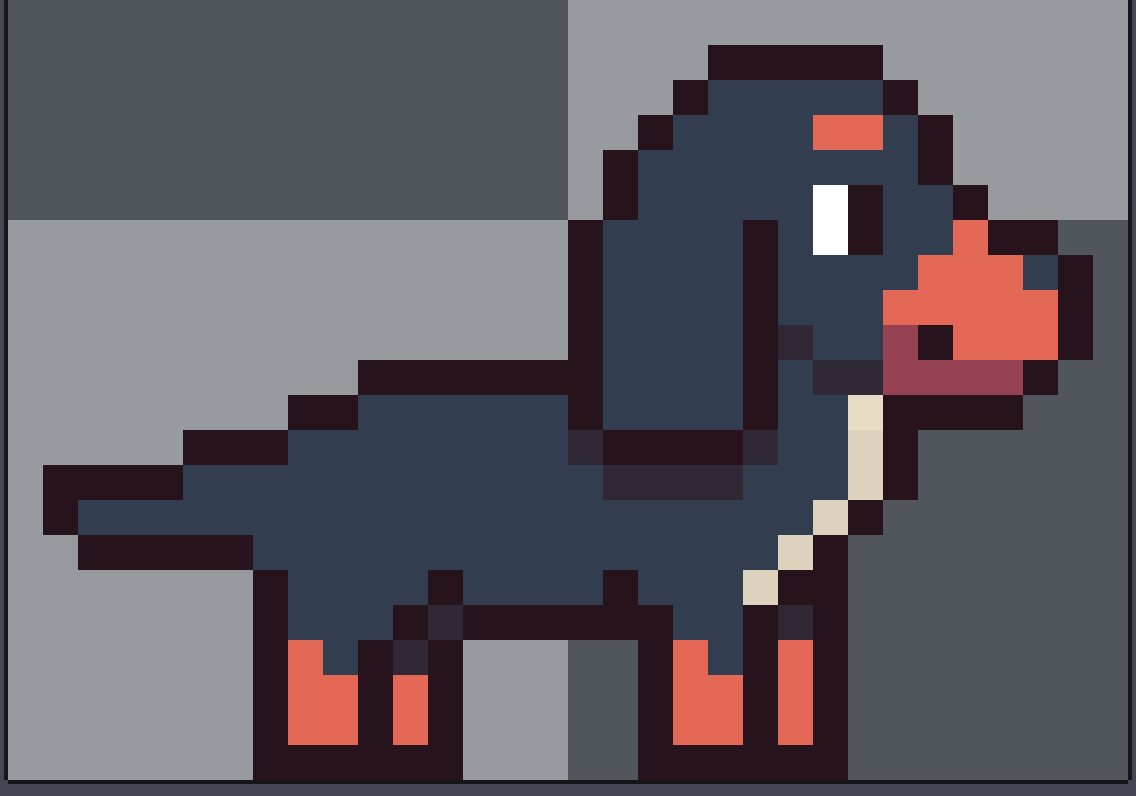
Symmetry mirrors every stroke as you draw. Turn on the vertical axis for faces and characters, the horizontal axis for reflections, or both together for tiles and ornaments. The guides appear on the canvas so you can see where the mirror line falls.
The grid overlays the canvas with a cell size you choose. Width and height are set independently, which is useful for tile sheets where cells are not square. The grid is a guide only and never appears in an export.
Tiled mode
Tiled mode repeats the canvas around itself so you can draw a seamless pattern and judge the join while you work. Strokes, brush overhang and flood fills all wrap across the seam, so a line drawn off the right edge continues from the left. Contour fills also close across horizontal and vertical seams, including when Pixel Perfect is enabled.
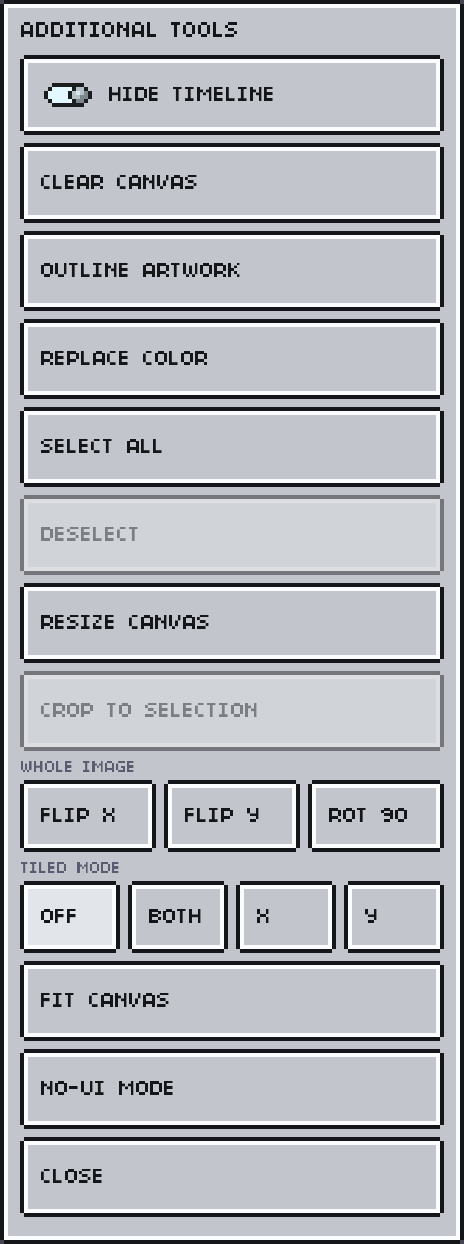
Tiled mode is switched from the Additional tools menu, described under canvas operations.
Layers
Layers live in the timeline panel. Each row carries a visibility eye, a lock, the layer name and its cel for the current frame. A hidden or locked layer cannot be painted on by accident.
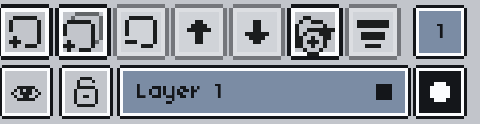
Double-tap a layer name to rename it. Drag the square handle on a row to reorder layers. Merge down combines a layer with the one beneath it, and flatten collapses everything into one. Both are undoable.
Layer groups
Groups keep a busy timeline readable. Collect related layers, say a character’s body, its outline and its shadow, into one group, then collapse it to a single row while you work elsewhere.
- Hiding or locking a group applies to every layer inside it.
- Drag a layer onto a group to move it in, or out to return it to the top level.
- Dragging a collapsed group moves the whole block together.
- Group structure is preserved when a project is saved and reopened.
Animation
Frames run along the timeline. The transport row moves between them, plays the loop, and controls onion skinning and playback speed.

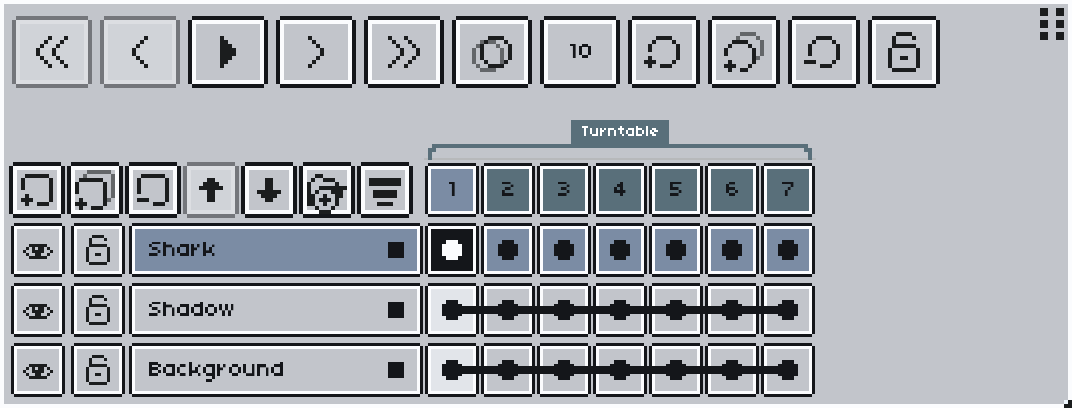
Every layer holds one cel per frame, so adding a frame extends the whole project rather than a single layer. The transport button changes from play to stop while the animation is running.
- Add, duplicate, delete and drag frames into a new order.
- Long-press a frame number to edit that frame’s duration.
- The frame rate field sets the default speed for the whole project.
- Drag across a row of cels to select a range and open the cel actions.
A longer animation is easier to work on in named pieces. Once you have more than one action in the same project, see animation tags for splitting it up and linked cels for reusing a drawing instead of copying it.
Animation tags
A tag names a range of frames, such as walk, idle or attack, so one project can hold every animation a character needs instead of one project per action. Tagged ranges appear as coloured bars above the timeline, and the frames belonging to the selected tag are highlighted.
Each tag carries its own playback direction: forward loops the range, ping pong plays it out and back, and once stops at the end. Playback can follow the whole timeline, the tag you have selected, or whichever tag contains the current frame, so you can watch one action on loop while the rest of the project stays where it is.
Long-press a tag bar to open its properties. Beyond renaming and recolouring, a tag can be split at the current frame, merged with its nearest neighbour, duplicated or deleted. Tags are saved with the project and survive a round trip through the Aseprite format.
Linked cels
A linked cel is one drawing appearing in several places on the timeline. The frames do not hold copies of it. They hold the same pixels, so editing any one of them updates all of them at once. A held pose, a background that never moves, or the return half of a ping-pong cycle costs one drawing rather than six.
Drag across the cels you want and release to open the cel actions, then link them. The earliest cel in the selection is the source, and the rest become references to it.
Onion skinning
Onion skinning draws the neighbouring frames faintly behind the current one so you can line up a movement without flipping back and forth. It affects the canvas only and never appears in an export.
Selections
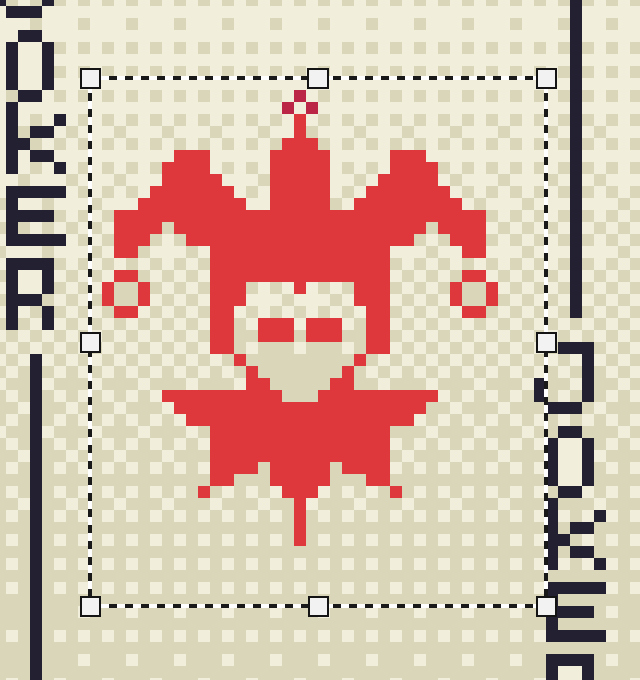
Long-press the selection tool to choose box, ellipse, lasso, polygon or magic wand. Once an area is selected, marching ants mark its edge and drawing is limited to the selected pixels.
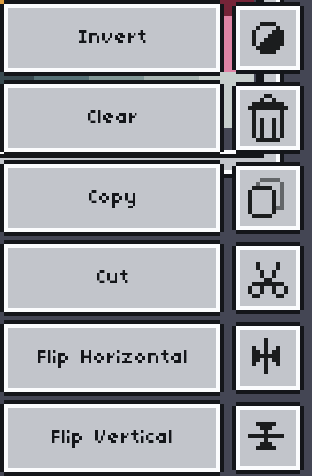
The context strip beside the canvas acts on whatever is selected. Invert swaps the selected and unselected pixels, clear erases inside it, and copy and cut move pixels to the clipboard, which is shared across layers, frames and open projects.
Transforms
Dragging a selection lifts those pixels into a floating selection. While it floats you can move, scale and rotate it, and nothing is written back to the layer until you confirm, so you can cancel and leave the artwork untouched.
The handles switch between scale and rotate. Scaling uses nearest-neighbour so edges stay hard. Rotation to a quarter turn is lossless; any other angle is resampled with an algorithm built for pixel art, which never introduces a colour that was not already in your artwork.
Canvas operations
The … button on the tool strip opens the additional tools menu, which acts on the whole image rather than a single stroke. Every operation here is a single undo step and applies across all layers and frames.
Palette
The palette panel holds the colours for the current project. Tap a swatch to make it the foreground colour, and use the buttons along the top to load a built-in or saved palette, save the current one, or reach the rest of the palette options.
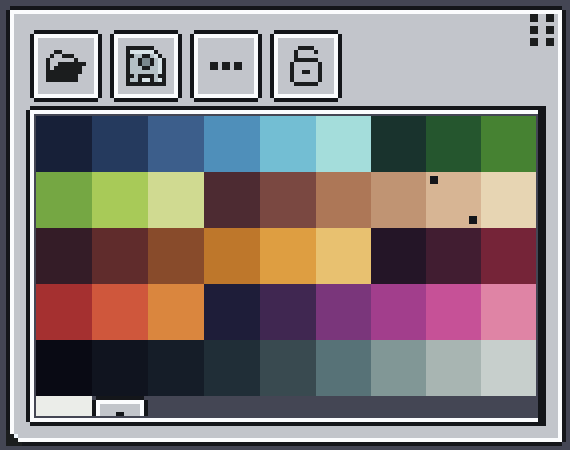
- Add a colour with the + swatch at the end of the grid.
- Drag a swatch to reorder it within the palette.
- Palettes import and export as Lospec-compatible text.
Colour editor
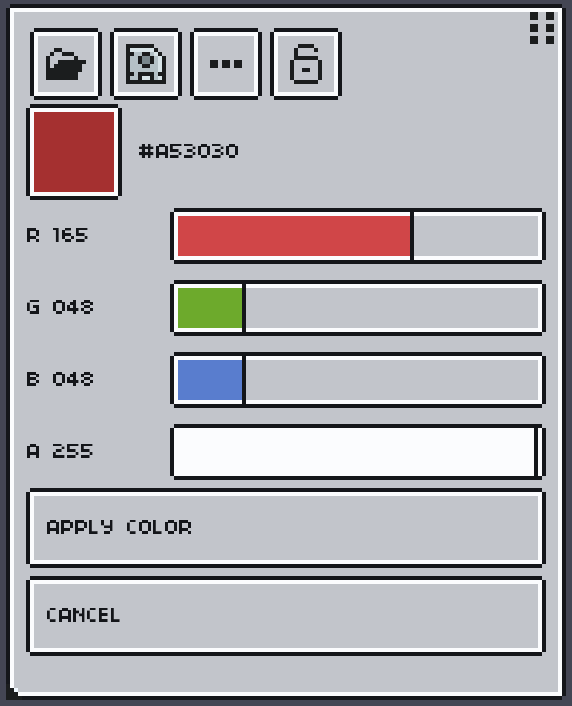
Tapping an already-selected swatch a second time opens the colour editor. Set the colour by red, green, blue and alpha channels, or read and edit its hex value directly, then apply the change back to the palette.
Indexed colour
In an indexed project every pixel points at a palette entry instead of storing its own colour. Editing a palette swatch instantly recolours all the artwork using it, which makes palette swaps and colour ramps quick to explore.
- Drawing snaps to the nearest palette entry, so the artwork can never drift off-palette.
- Transforms, pastes and merges all stay palette-safe.
- Palette remapping is undoable like any other edit.
- PNG export writes real indexed PNG8 data rather than a flattened copy.
Outline & replace colour
Both of these live in the additional tools menu and preview live on the canvas before you commit, so you can judge the result and cancel if it is wrong.
Outline artwork
Draws an outline around the artwork on the current layer. You can place the outline outside or inside the shape, choose which neighbouring pixels count, and pick the outline colour.
Replace colour
Swaps one colour for another across the layer. It shares its tolerance behaviour with the magic wand, handles the transparent colour as a real target, and lets you hold a palette swatch to sample from the canvas.
Importing
Pixsama imports ordinary images, animated GIFs, sprite sheets, Aseprite projects and its own project archives from the gallery.
Exporting
The export panel picks the format first, then shows only the settings that format actually uses, with a live preview of the file you are about to write. Everything scales by a whole number from 1× to 8× so the pixels stay square, and transparent edges can be trimmed on the way out.
Images land in Pictures/Pixsama. Project files, both the native archive and Aseprite, land in Downloads/Pixsama. An export is a real file you can hand to another app, not something locked inside Pixsama.
Saving & recovery
Projects are saved locally on the device, and Pixsama keeps autosave recovery data as you work. If it finds newer recovery data when a project opens, it asks whether to recover that work or open the last normal save.
Gestures
One finger always draws. Everything that moves the view uses two, so a stroke is never mistaken for a pan.
Themes
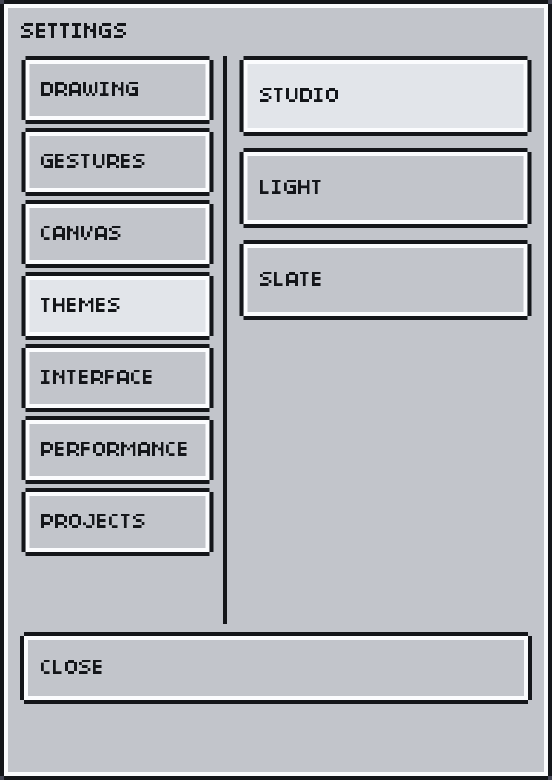
Settings groups everything into Drawing, Gestures, Canvas, Themes, Interface, Performance and Projects. The Themes category switches the chrome between Studio, Light and Slate; the choice is remembered between launches.
Free vs Pro
The Free edition is a complete small studio rather than a timed trial. Reaching a limit shows an explanation and leaves your work untouched.